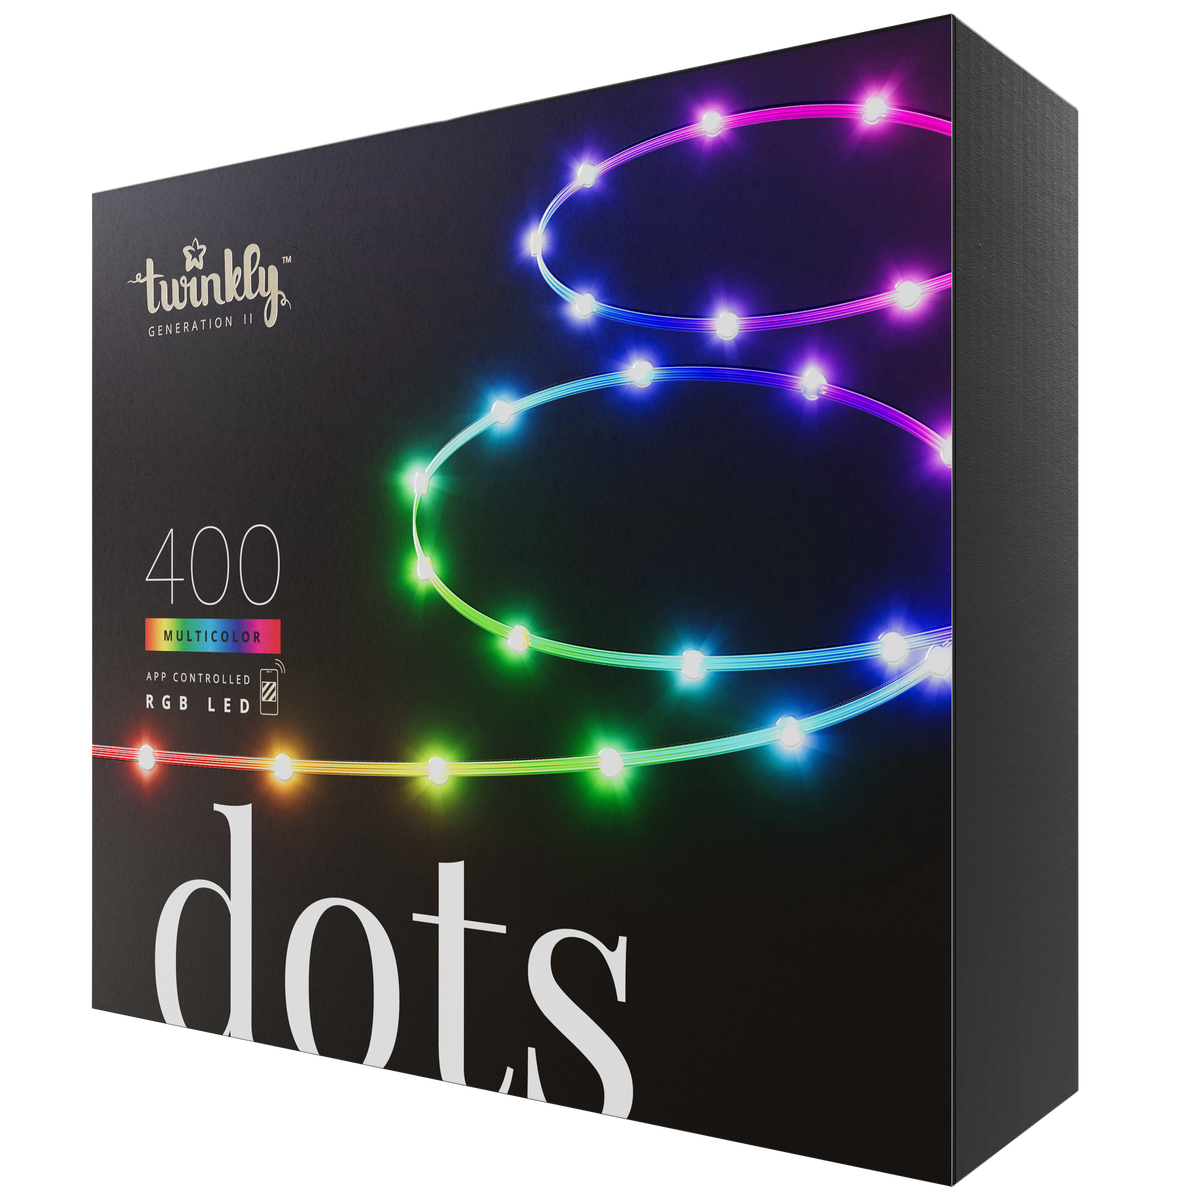
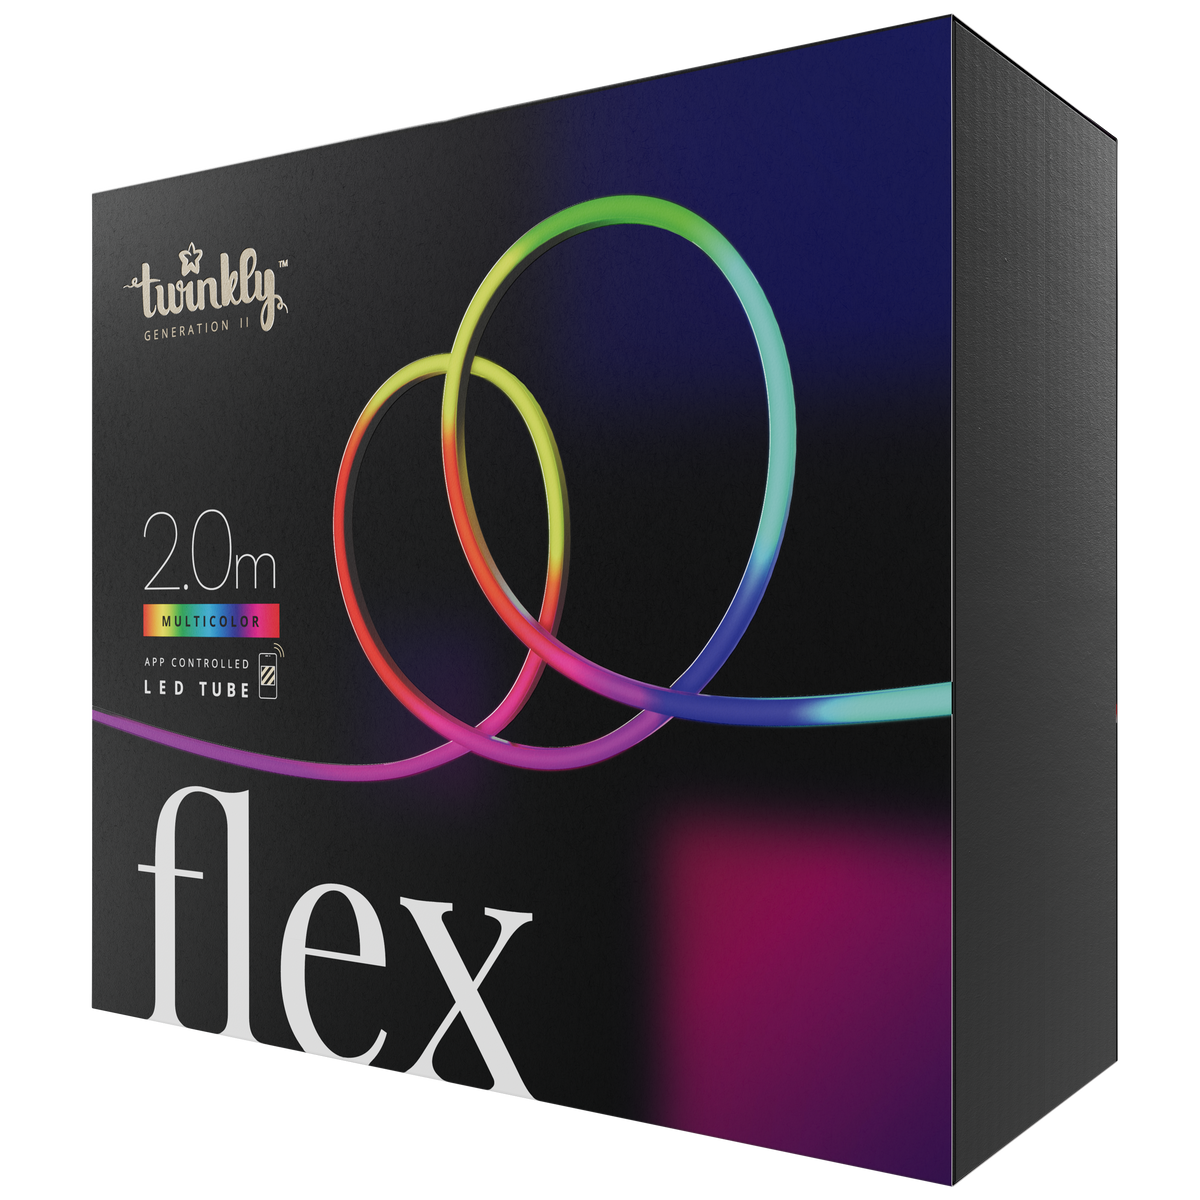
There's no better time than summer to transform your outdoor space into a shining retreat with enchanting summer lights. Whether you're hosting backyard barbecues, gatherings with friends, summer parties, or simply enjoying a quiet evening under the stars, the right lighting can elevate the ambiance and create an atmosphere that is nothing short of magical. In this comprehensive guide, we'll take you through every step of the process, from assessing the space you have to decorate to picking the right lights and installing them

Assessing Your Space
Before you even think of the type of outdoor lights you are going to hang up, take a moment to assess your outdoor space and decide where to hang them. Consider the layout, size, and architectural features that you want to highlight or enhance with your lighting design. Look for potential features such as trees, fences, or pergolas that you may want to illuminate.
Take special note of power sources and prepare extension cords (certified for outdoor use) if needed. Make sure you buy lights that are longer than the measured length of the area you want to cover so they hang lax without being pulled tight. Also, stock up on screw hooks or zip ties to hang the lights.
Here are some common outdoor spaces for summer light decoration:
Fencing
Hang lights along perimeter fencing for a charming aesthetic touch. You might be able to hang them directly from the posts or rails, depending on the design of your fence.
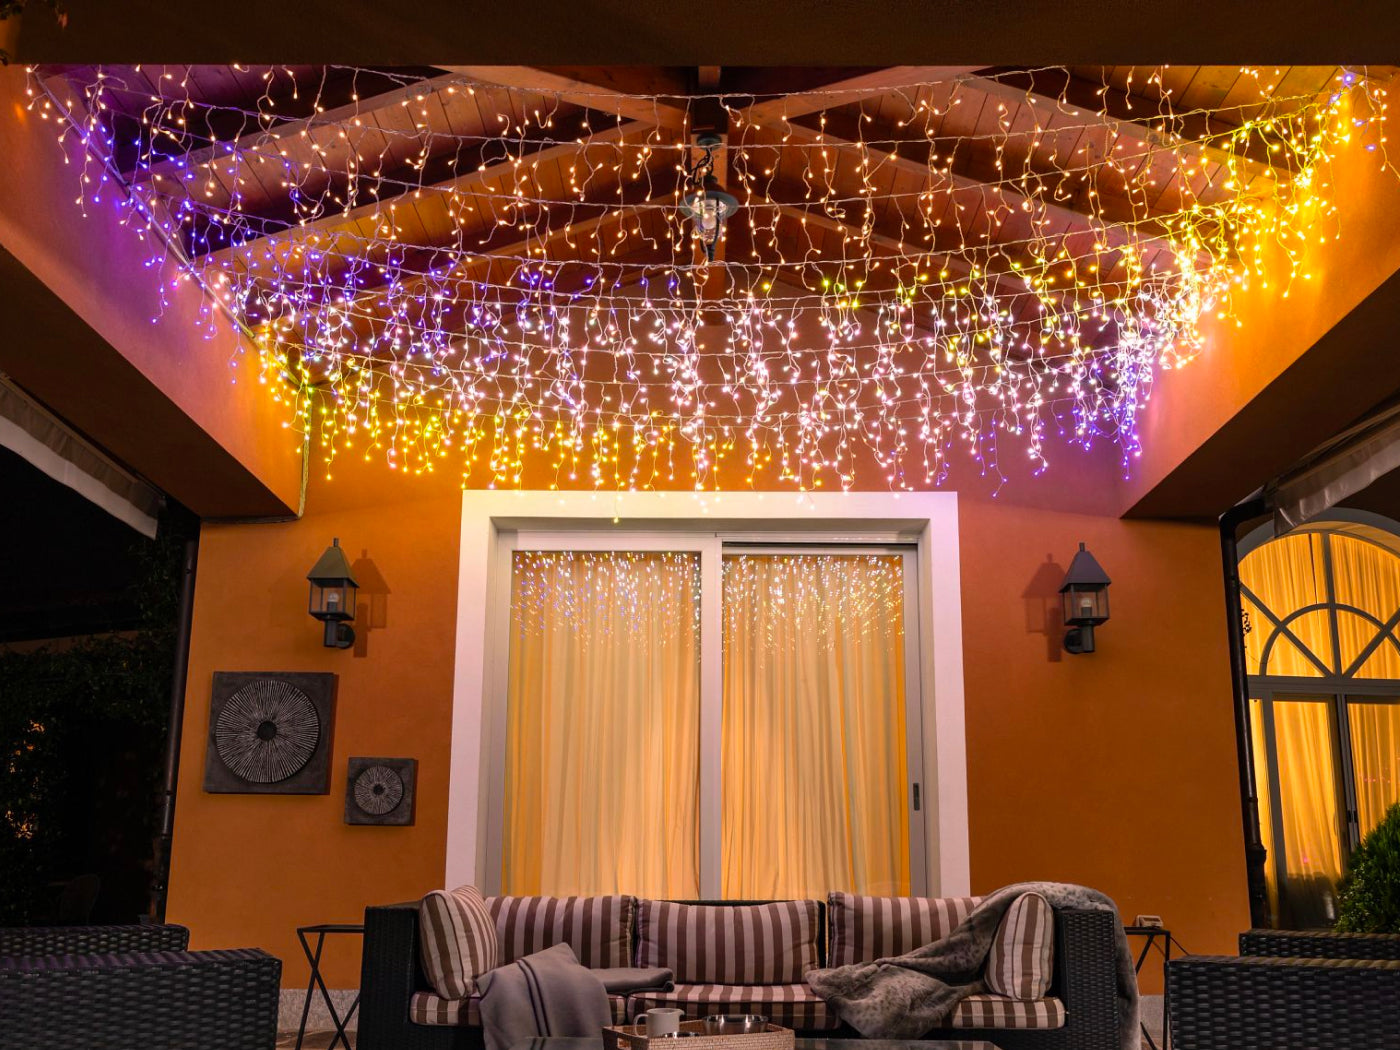
Pergola or covered porch
Bring custom ambiance and warmth to gathering spaces. Decorative lights weave through and around beams on pergolas or from hooks under porch overhangs for a welcoming effect.
Trees
Light strings can be beautifully wrapped around tree trunks and up through branches for fairy forest vibes. If you have multiple tall trees in your yard, hang lights from tree to tree using screw hooks.
Open area
Create a magical atmosphere for open patios and gathering areas by hanging lights from your house to poles and/or trees. Install metal screw hooks to the house, then string lights to the poles (installed firmly into the ground). Illuminate the border of the seating area or canopy lights overhead, depending on your style. The amount of poles and hooks you’ll need depends on the size and design of your setup.
You can also create this setup using only poles if the area is set away from the house.
Choosing the Right Lights
With a myriad of options available, choosing the right lights can seem daunting. Consider the mood you want to create and how you can use different types of to achieve it. Here are the most popular models for outdoor use:
Twinkly Festoon

Twinkly Festoon lights feature 45mm (about 1.77 in) light bulbs, the perfect size to shine bright and add a colorful, decorative touch without being harsh. They are perfect for creating a warm and welcoming outdoor oasis for relaxation.
Twinkly Strings

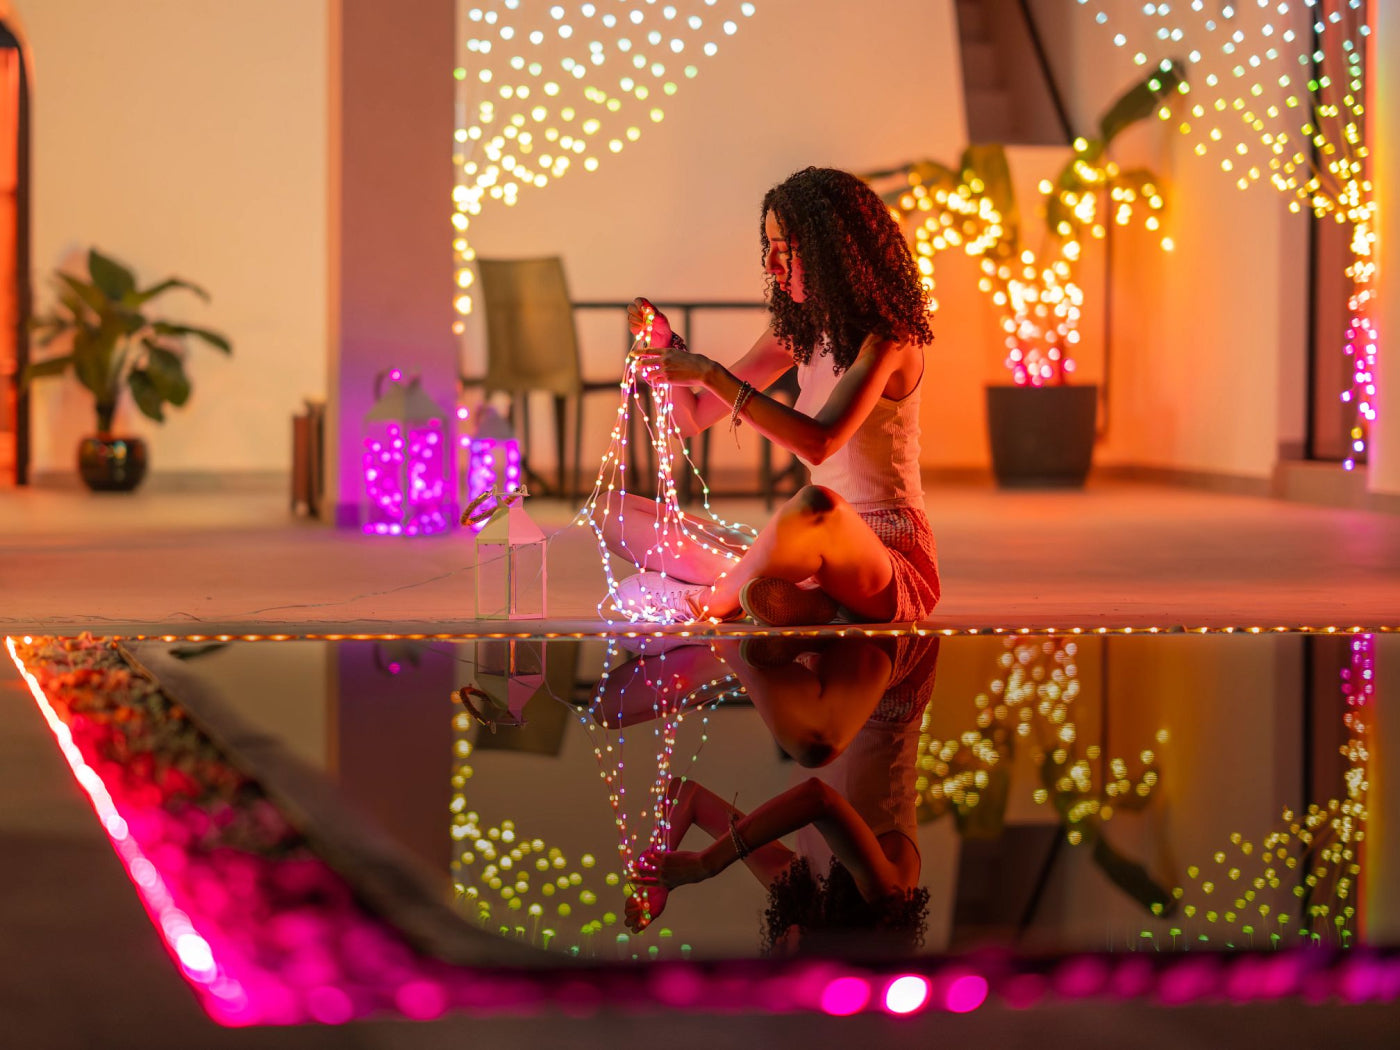
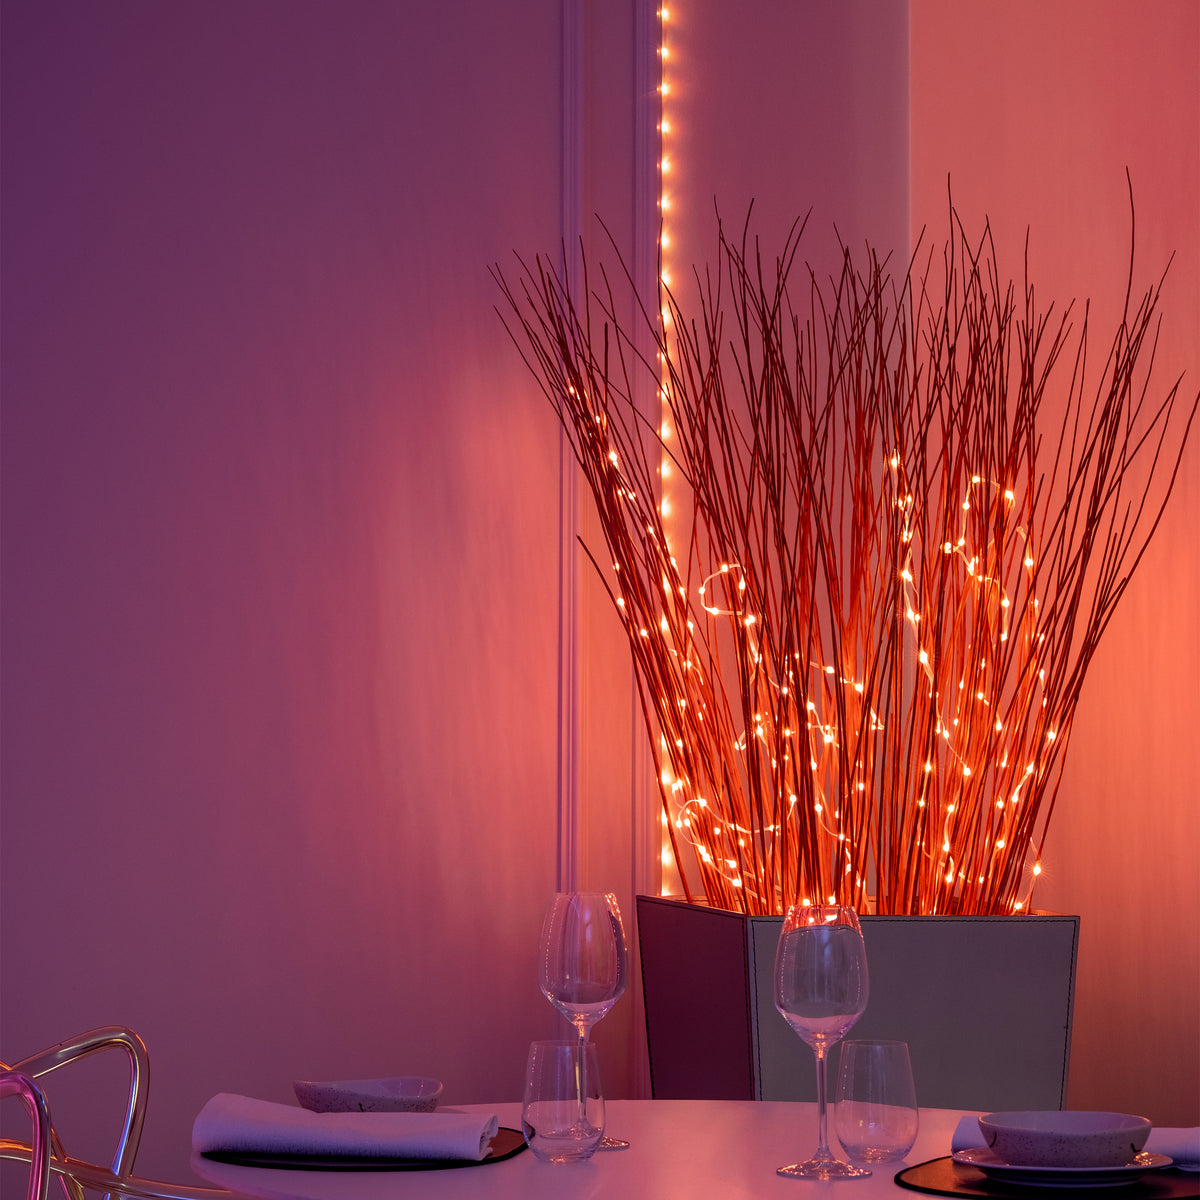
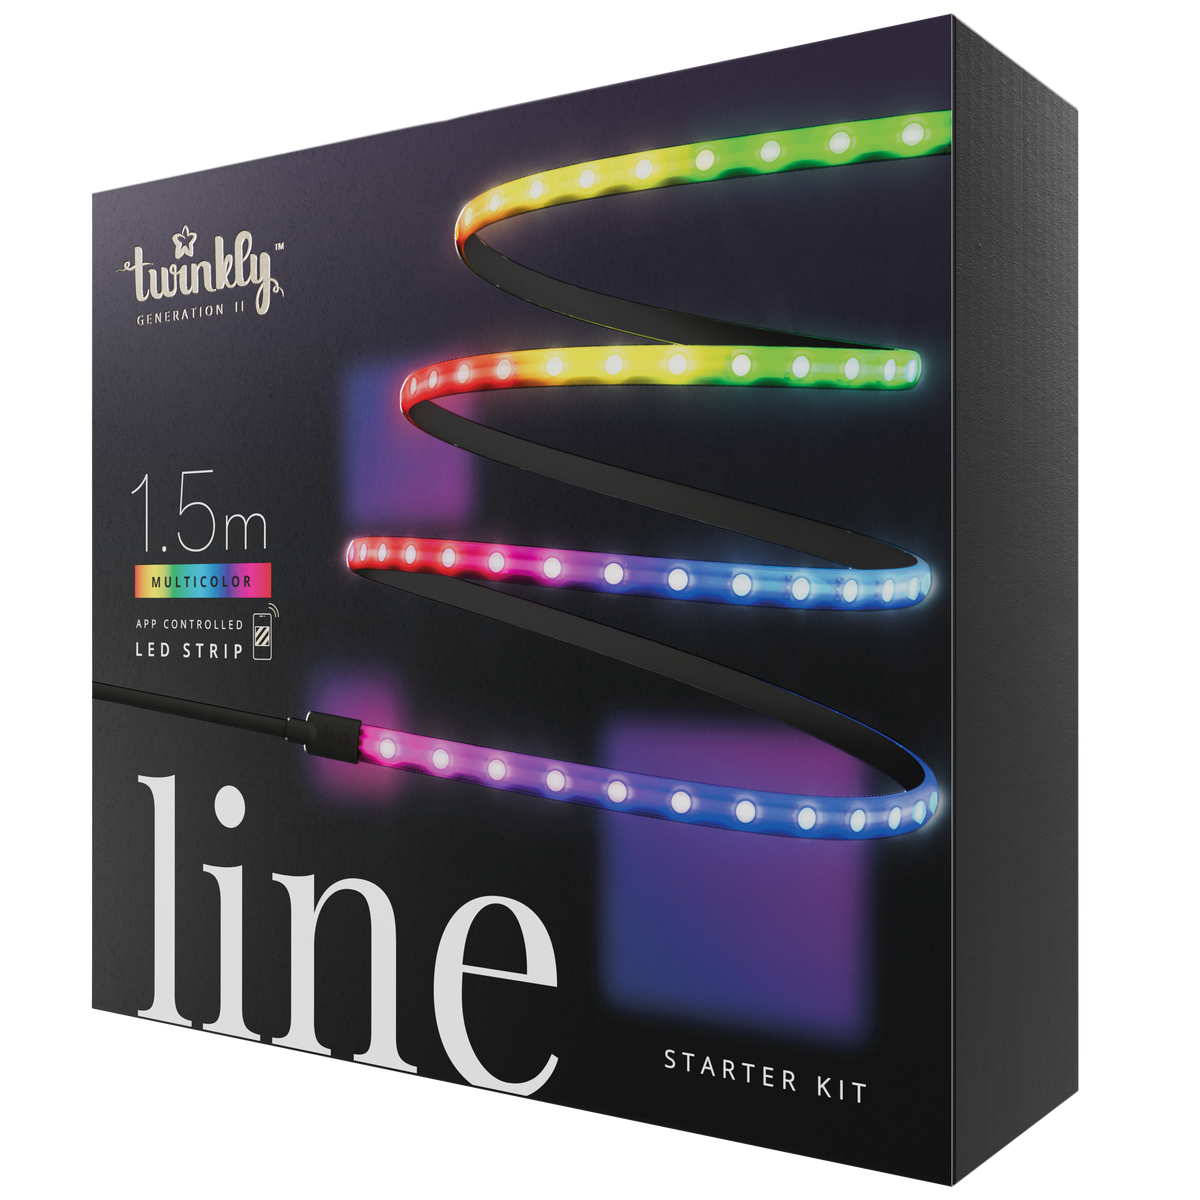
Set a cozy, inviting, and magical scene with Twinkly String lights. You can string them almost anywhere and even around objects. The more closely they are placed, the more the lights act like a screen to play animations and spectacular color effects.
Twinkly Curtain

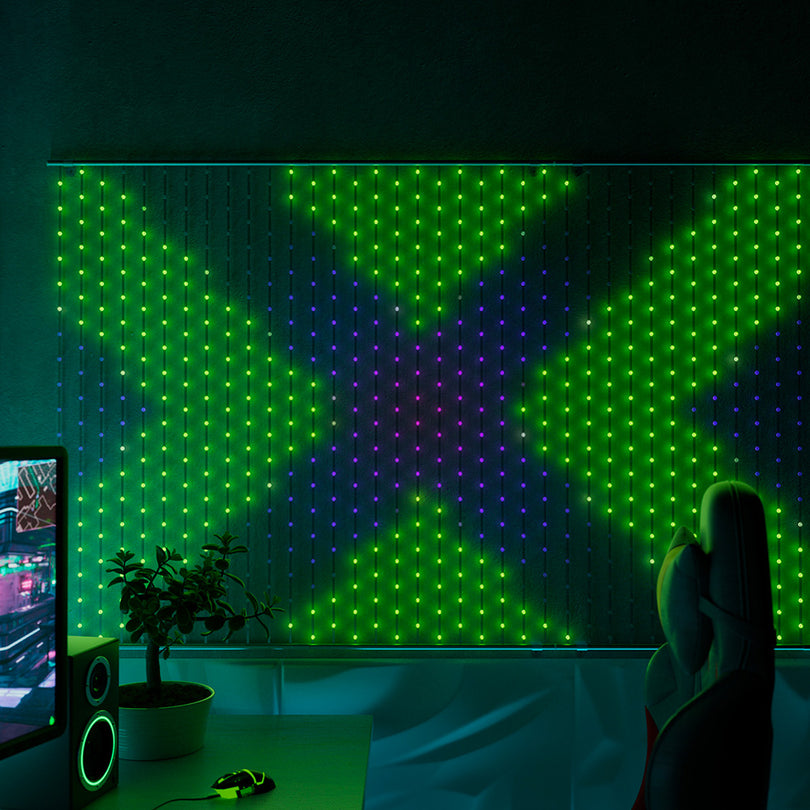
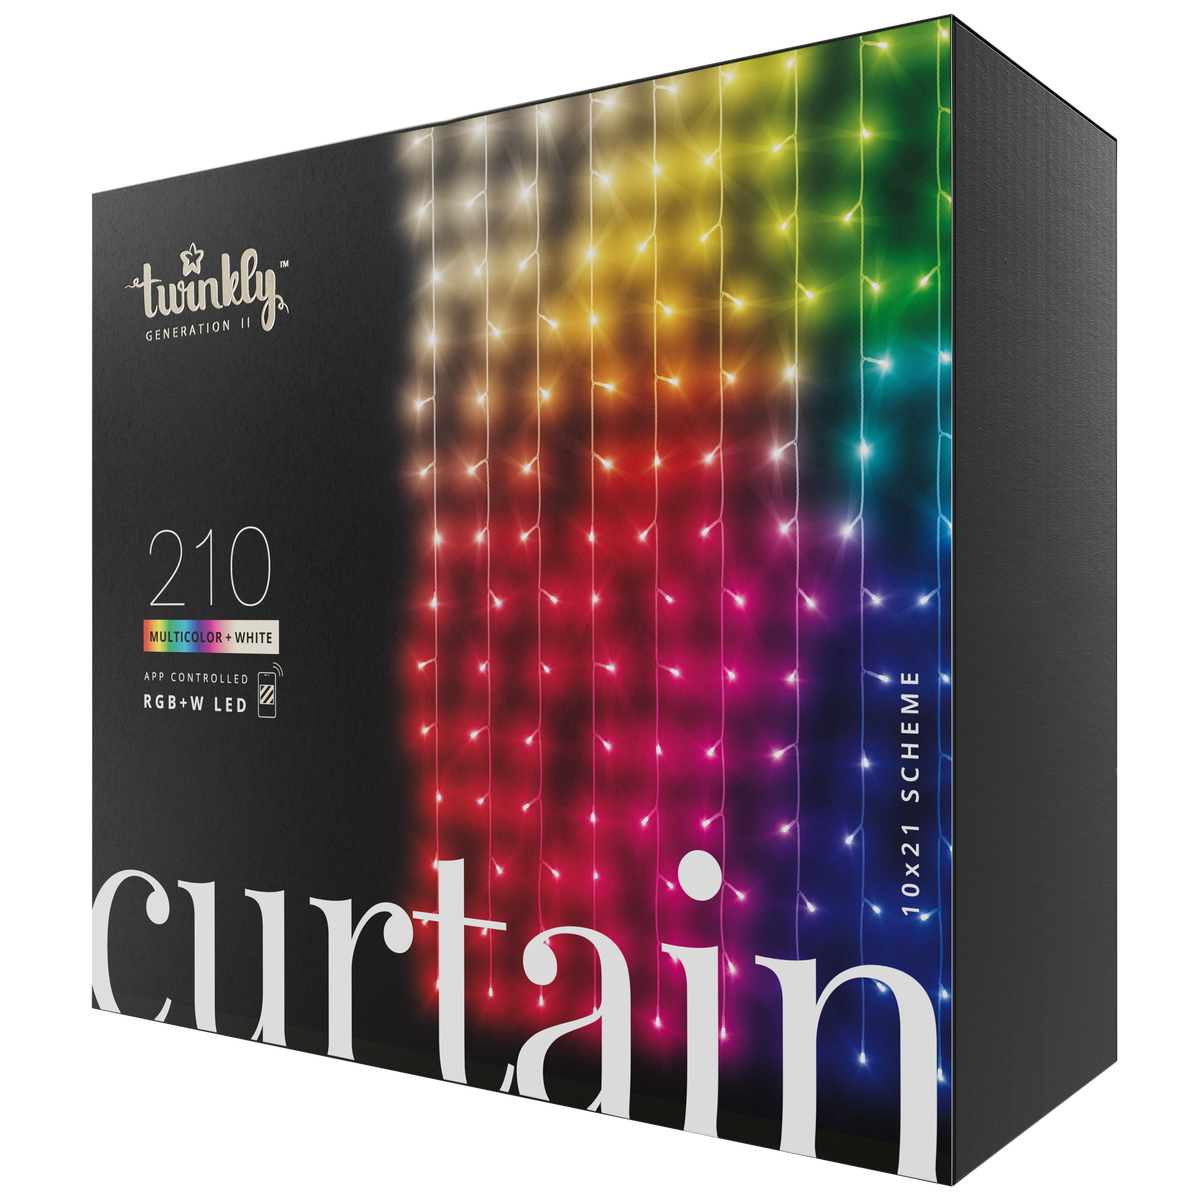
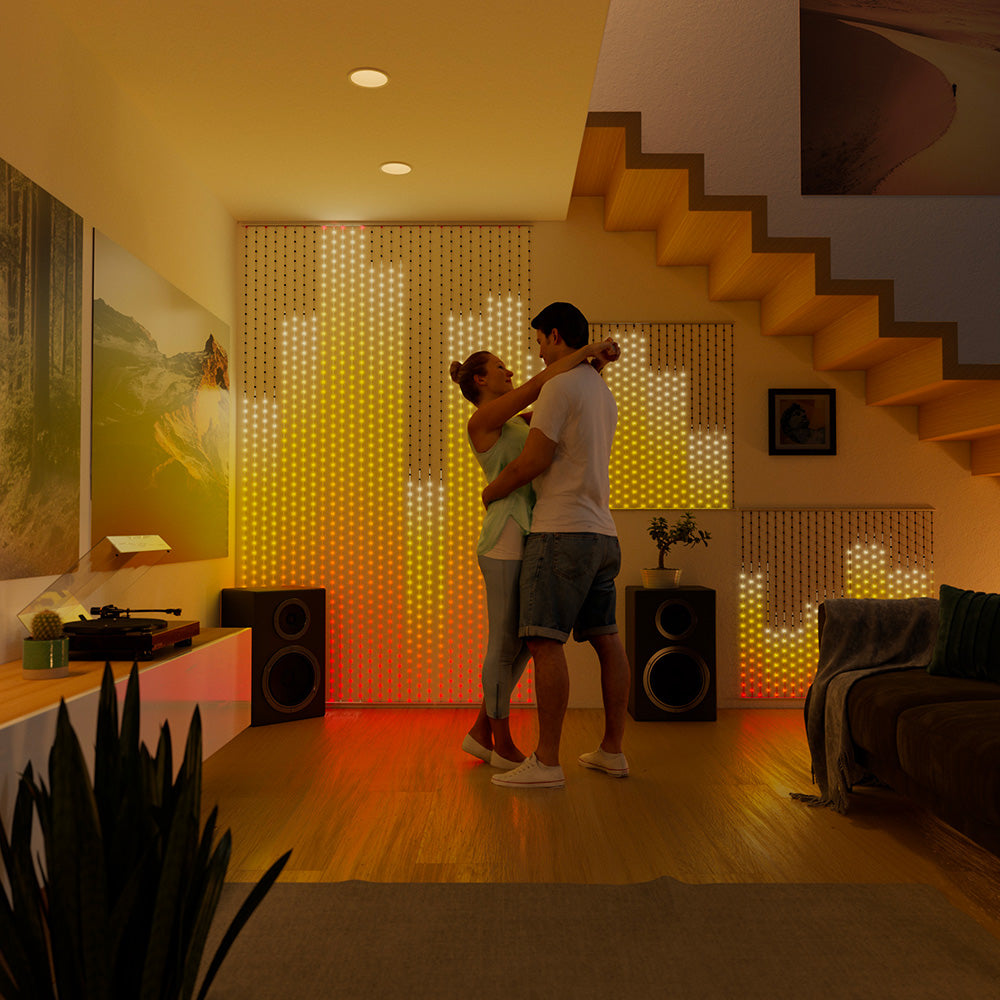
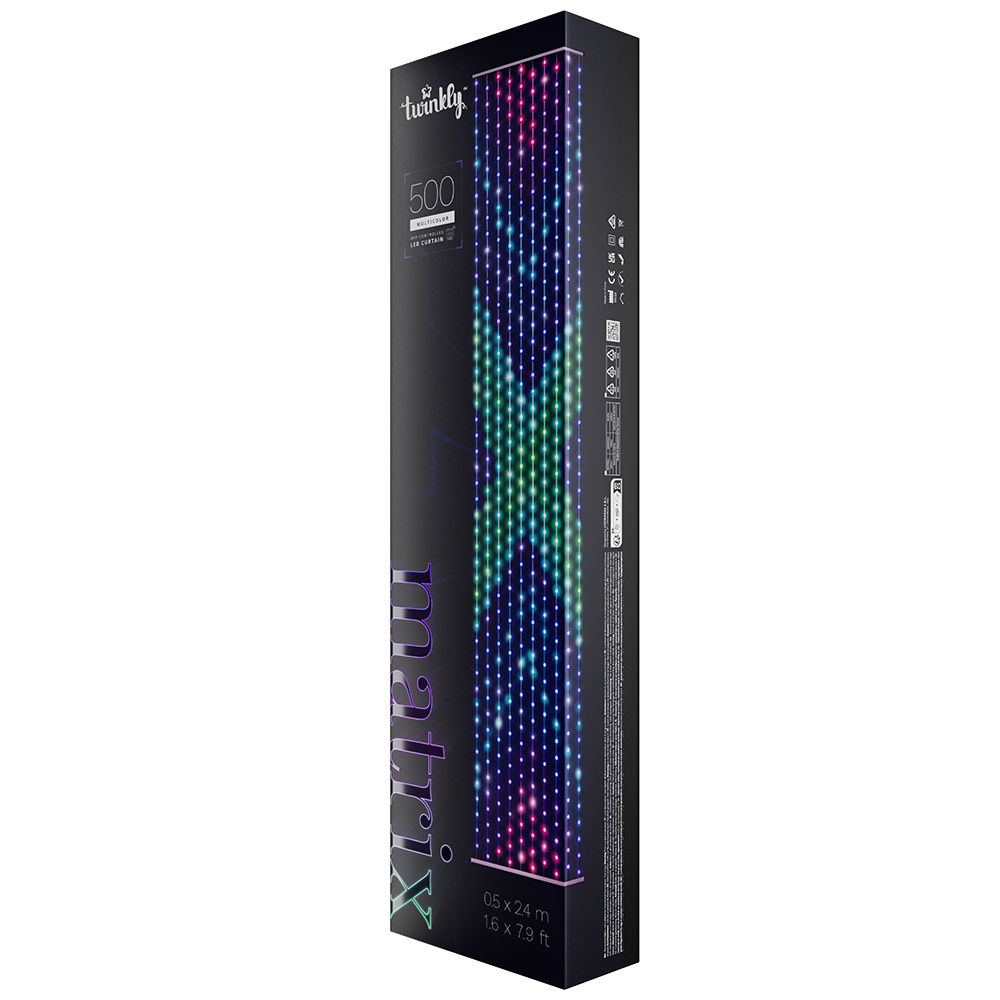
Ideal for filling empty spaces with pure light, Twinkly Curtain lights illuminate your setup like no other. It is ultra-fun for playing animations and gradients thanks to the screen-like layout. Decorate deck railings and patio overhangs with vibrant dimension.
Hanging Up Your Lights
Once you've decided where to hang your LED lights and have gathered all the necessary materials, it’s time to bring your vision to life. Take your lights, metal hooks and/or zip ties, extension cords, and a sturdy ladder if needed. If you are hanging lights using poles, make sure they are firmly installed in the ground before you start.
Begin by locating the nearest power source and securing any necessary extension cords. If you are using hooks, drill guide holes and then screw in the hooks where you want the lights to hang.
Take your lights, starting from the power source and work your way across your layout, securing them onto the hooks (or with zip ties) as you go. Step back periodically to assess your lighting design and make any necessary adjustments.
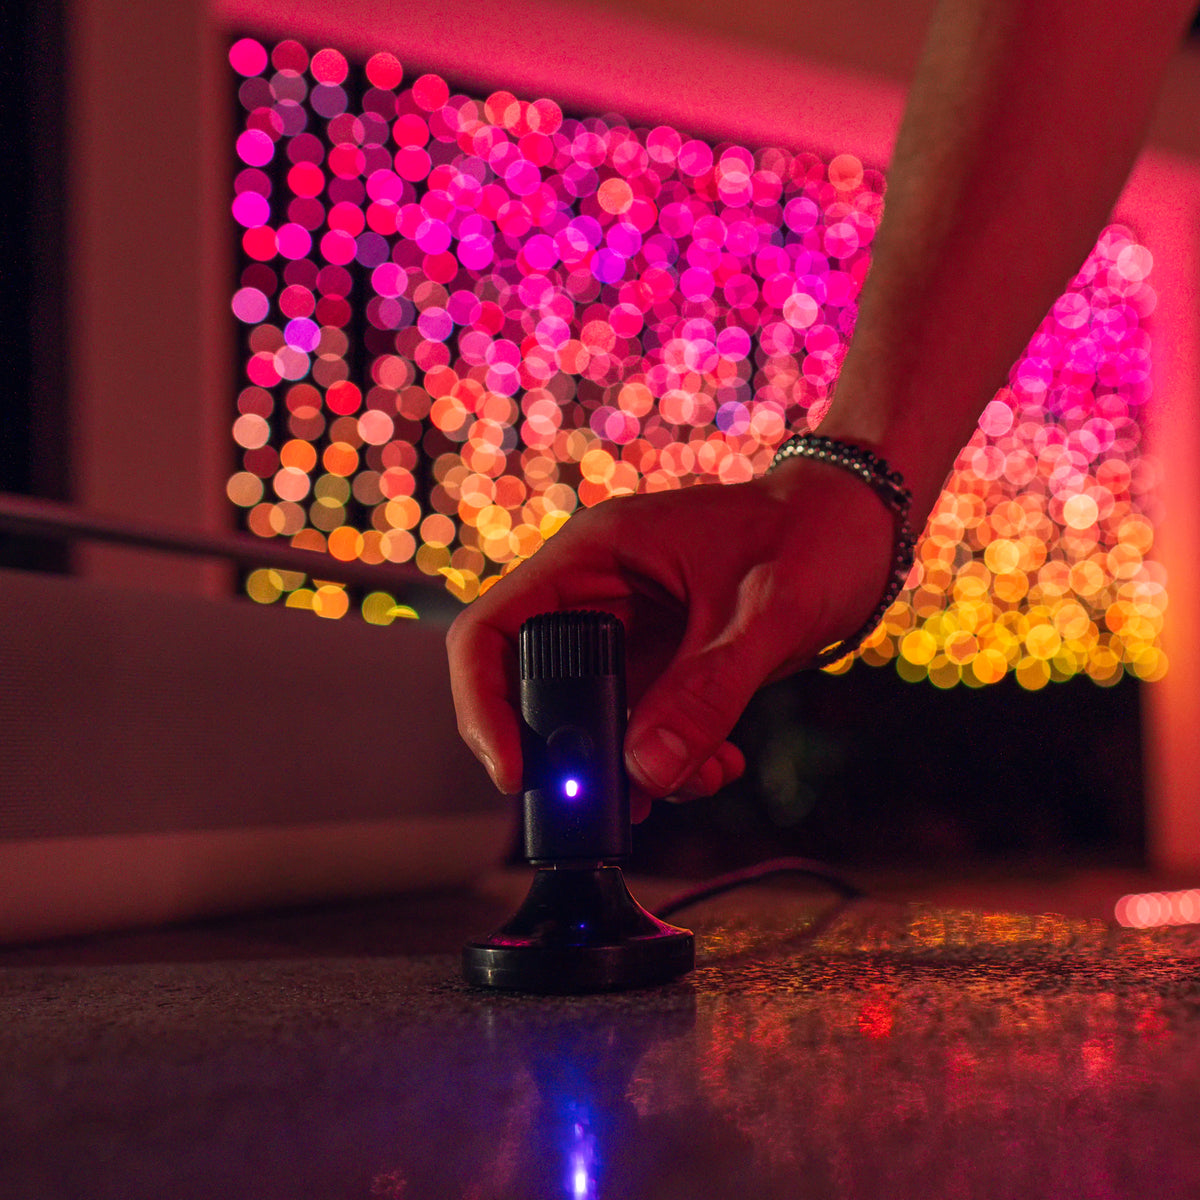
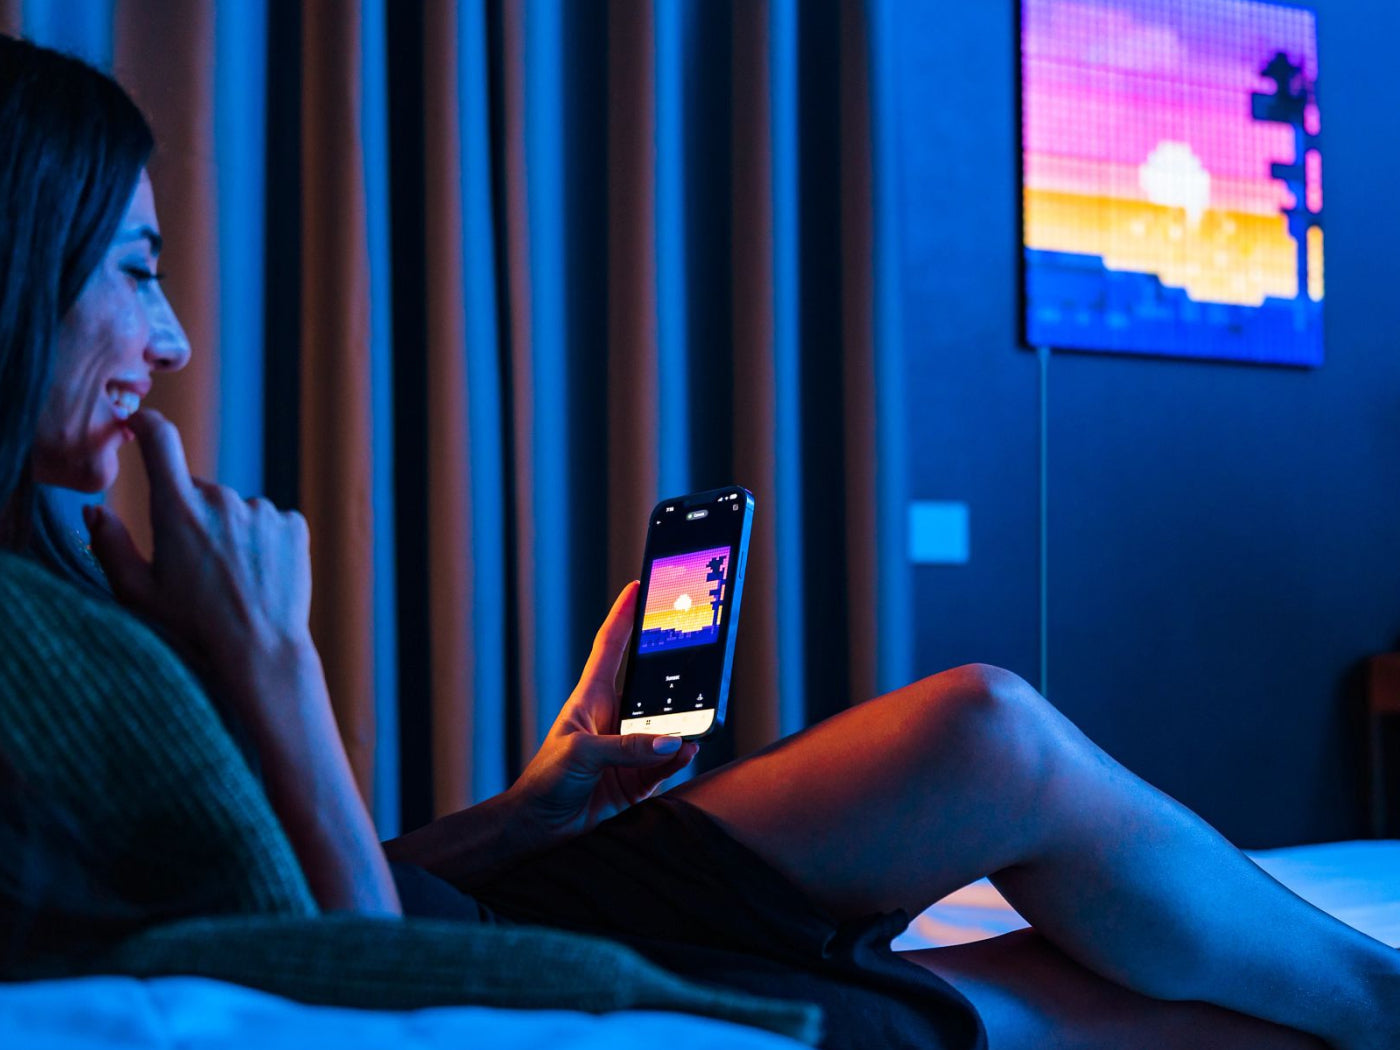
Once your lights are securely positioned, download the Twinkly app, log in, and follow the instructions to connect your smart lights to the app (follow the installation guide included with your purchase or click here to see online instructions at the Twinkly Help Center). Once your smart lights are connected to your local Wi-Fi, the app will ask you to map them. It will quickly locate the position of each LED, no matter how lights are positioned, giving you a precise overview of your setup.
Now it’s time to sit back and animate your space with custom illumination. You can even create your own lighting effects from scratch with just a touch of your smartphone screen.
Check our other blog posts on creative color schemes for outdoor lighting and on the exclusive features available only from the Twinkly app.
